ရုံးမှာ Fluentbit သုံးပီးတော့ central logging လုပ်ထားတယ်။ ရှိသမျှ instnaces တွေအကုန်လုံးမှာ fluent သွင်း Opensearch ကို logs တွေ push အဲ့လိုမျိုးလုပ်ထားတာ။ EC2 role နှင့်ဆိုတော့ password ဘာညာအတွက်အာရုံမနောက်ကဘူး role base auth ကတော်တော်လေးအဆင်ပြေတယ်။ ရုံးမှာ log parser တခုလိုက်စမ်းရင်းနှင့် အိမ်က mini PC မှာလဲ Opensearch သွင်းထားပီးသားဆိုတော့ Fluentbit ပါသွင်းပီးစမ်းဦးမယ်ဆိုပီးတော့ စမ်းကြည့်ဖြစ်တာ။
Fluent bit Installation ကထွေထွေထူးထူးမဟုတ်ဘူး။ ဒီ link ကအတိုင်း လိုက်လုပ်လိုက်ရုံဘဲ။ Opensearch setup လုပ်ထားတာကိုတော့ ဒီ link မှာပြန်ဖတ်နိုင်ပါတယ်။
ကွန်ပျူတာ CPU information တွေကို every second တိုင်းပို့်မယ်ဆိုပီး သူ့ configuration ကိုပြင်လိုက်တာ ၂ နာရီ ၃ နာရီလောက်ကြာတယ်။ အောက်က fluent-bit.conf ရဖို့တော်တော်လေးစမ်းလိုက်ရတယ်။
[INPUT]
    Name        cpu
    Tag         cpu.local
    Interval_Sec 1

[OUTPUT]
    Name         opensearch
    Match        *
    Host         localhost
    Port         9200
    HTTP_User    admin
    HTTP_Passwd  Secret123
    Index        ubuntu-mini-pc
    Type         _doc
    tls          On
    tls.verify   Off
    Suppress_Type_Name On
Input က ကျနော့်ကွန်ပျူတာ cpu information တွေကိုယူမယ်ပြောတာ။ ဟာ cpu လေးထည့်လိုက်တာနှင့်ဘယ်လိုဖြစ်ပီး information ရတာလဲဆိုရင် cpu plugin ကြောင့်ရတာ။ ပုံမှန် logs တွေဘာတွေက information တွေရချင်တယ်ဆိုရင်ကိုယ်တိုင်အဲ့ logs format တွေကို parse လုပ်ပီးတော့ထည့်လို့ရတယ်။ အဲ့လို parse လုပ်စရာရှိတယ်ဆိုရင်တော့ ကျနော်က ဒီ tools လေးသုံးဖြစ်တယ်။
Fluentbit error log ကြည့်ချင်ရင် sudo journalctl -u fluent-bit -f ဆိုပီးကြည့်လို့ရတယ်။ journalctl က systemd logs တွေကြည့်တဲ့နေရာမှာအသုံးပြုတယ်။ (ပီးမှသပ်သပ် journalctl အကြောင်းရေးဦးမယ်)
Output ကတော့ opensearch ကိုသွားမယ် နောက်ကျန်တာတွေကတော့ သူ့ setting လိုအပ်ချက်အတိုင်းလိုက်လုပ်လိုက်တာ။ Version မတူလို့ Suppress_Type_Name ကို On ပေးရတယ်။ tls.verify ကို Off လုပ်ထားတာက local မှာ HTTPS setup မလုပ်ချင်လို့မလို့။
Output Opensearch နှင့်ပတ်သတ်ပီးတော့ configuration တွေကြည့်ချင်ရင် ဒီမှာ ကြည့်လို့ရတယ်။
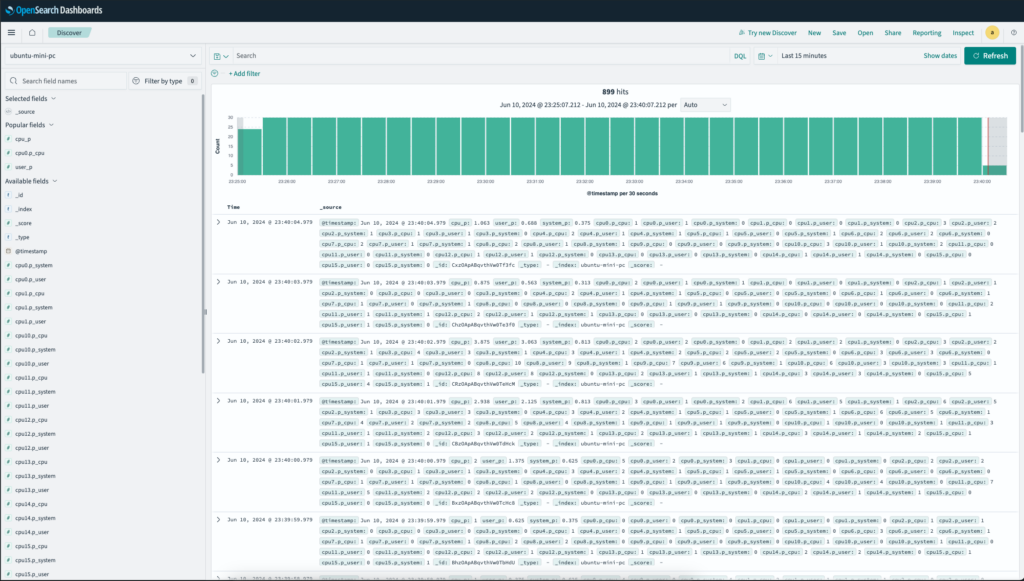
အားလုံး configure လုပ်ပီးတော့ restart ချလိုက်တဲ့အချိန်မှာ အောက်မှာပြထားတဲ့ပုံအတိုင်း CPU information တွေဝင်လာတယ်။
ဒီနေ့စမ်းတာတော့ဒီလောက်ဘဲ နောက်နေ့မှ CPU infomration တွေကို dashbaord လုပ်ဦးမယ်။